One of my baking memories from growing up was when my mother used to make pie crust cookies out of her pie crust scraps. She would make a pie crust (or two), and whatever she had left over would get rolled out again, cinnamon and sugar would get sprinkled over it, and it would get put back in the oven to bake.
We never even bothered with cutting out any particular shapes; when it came out of the oven we would simply break off a piece to eat. And we were usually too impatient to let it cool a whole lot! But I don’t recall the pie crust leftovers lasting more than the time it took me and my siblings to traipse through the kitchen to break off a piece. At least we could say we didn’t waste one bit of the crust this way!

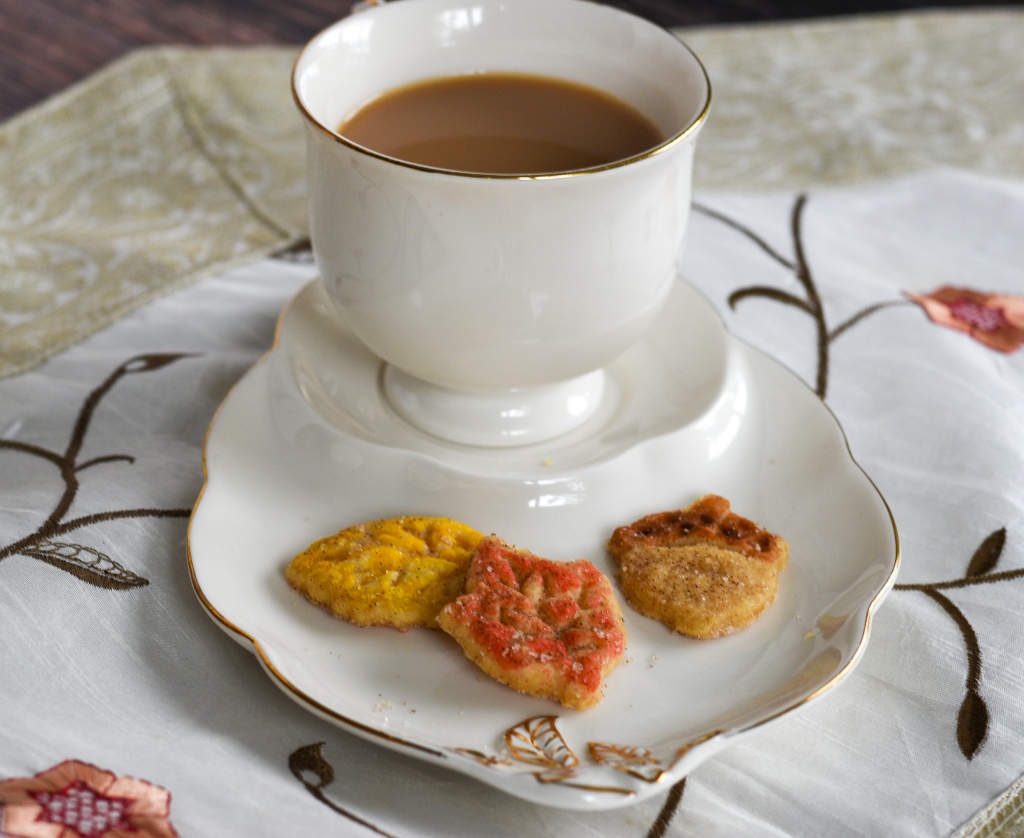
Not sure why this came to mind lately, but I thought I could try it using actual cookie cutters and “dress them up” a bit for an afternoon tea. They’re still quite simple and rustic, but they’re delicious with a milky black tea.
I found this four-piece plunger cookie cutter set to use for my autumn theme. As well, these US Cake Supply colors have worked well for me for painting on royal frosting, and spice cookies, and they worked well here too.

With pie crust cookies, you don’t even need to make your own – in a pinch, a store-bought freezer pie dough can work. But pie crust is quite basic and comes together so easily, it’s a pastry that’s great to learn to master. Not that that’s difficult, once you’ve got the recipe, it’s things like making sure the butter and water are cold, that you don’t overwork the dough, and a couple of basic things like that. And you can turn out nice flaky pie crust every time.
For my recipe, I favor an excellent baking book called Ratio. Once you master some basic ratios to baking, you can consistently get good results. The basic ratio for pie crust is 3-2-1, flour-fat-water. So my recipe below is based off the sweet pie crust there (pate sucree).


Make sure you chill the dough for at least 30 minutes in the oven before you roll it out. I use rubber rolling pin guides like these on my straight rolling pin to give me a consistent 1/8″ inch level across all the whole surface.
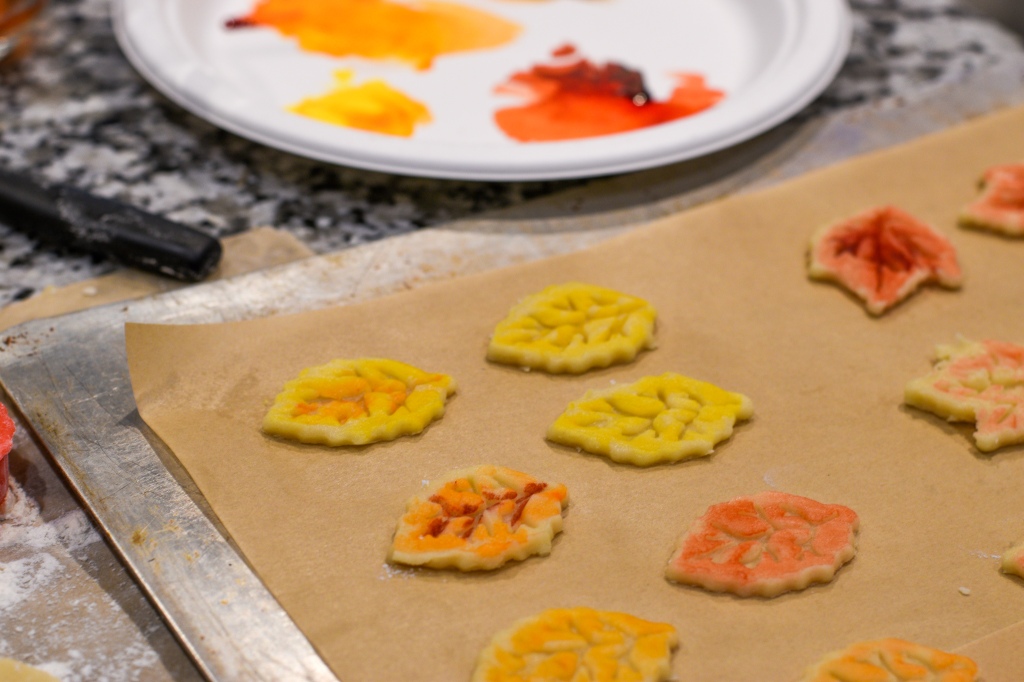
I love this next part! Something very satisfying about getting them cut out, messing about with food paint, finishing them off with a little sprinkle of cinn/sugar before going into the oven and – voila! Cute little autumn cookies come out the other side.


Autumn Pie Crust Cookies

Ingredients
- 12 oz. all-purpose flour (approx. 2 1/2 c.)
- 4 oz. butter, cold
- 4 oz. shortening, cold
- 2-4 oz. ice water (I substituted about half with vodka, supposed to make a flakier crust, not required)
- 2 tsp. granulated sugar
- 1/2 tsp. salt
- Gel food coloring to paint on, if desired (I used brown, red, orange and yellow for my fall colors; also, used vodka to thin/dilute the colors so they were like very thin water colors)
- Cinnamon/sugar mixture to sprinkle on before baking
Directions
Preheat the oven to 350º F.Sift together the flour, sugar and salt. Use a pastry cutter to cut the butter and shortening into the flour mixture until it resembles coarse crumbs. Alternatively, you can rub the butter and shortening between your fingers to mix it into the flour mixture, or use a food processor to pulse until it gets to the coarse crumb stage.
Add the water/vodka to the mixture a tablespoon at a time. Work it in with your fingers, or the food processor. Go slowly, add just enough until you are able to form a smooth ball of dough. Don’t overwork the dough or it will get tough.
Split the dough into two disks and wrap in plastic cling wrap. Allow to chill in the refrigerator for at least 30 minutes.
Please note – to make these pie crust cookies, I only used one of my two disks of dough, and put the second one away in the freezer to make a pie later.
Roll out your disk of dough on a well-floured surface to about 1/8th inch. I roll mine out on parchment paper, even with the flour, mostly to make clean up easy! Flour your rolling pin well also. Cut out leaves and acorns (or other shapes that you prefer) using your plunger cutters. You will likely need to flour your cutters as well. Place on a cookie sheet with parchment.
If you are going to color your cookies, take your gel food coloring and small brush, put one drop on a plate or bowl and dip into vodka to dilute the color well. From here, dab the color carefully on your cookies. The more the color is diluted, the lighter the color on the cookies. My preference is to make the color lighter, so it’s like working with water colors.
Once colored, sprinkle a mixture of cinnamon and sugar over the top. The pie crust isn’t terribly sweet, but the bit of cinnamon/sugar adds the right touch of sweetness.
Bake at 350 degrees Fahrenheit for approx. 15 minutes (check for light browning). Remove from the oven and slide the parchment onto your cooling rack, cooling completely before eating (they will be quite flaky).
So all that’s left to do is add a cup of tea and enjoy!


I love pastry so these look very appealing!
LikeLike
Thanks! Same here – fellow pastry lover 😊
LikeLike
This looks delicious! I’d appreciate it if you followed my blog as I have yours and checked out my Instagram (@madebybernadine). Here’s my latest post: https://madebybernadine.com/2020/10/24/the-perfect-way-to-start-your-weekend-fluffiest-blueberry-buttermilk-pancake-recipe-video-included/ Have a great day!
LikeLike
Thanks Bernadine! Just done so, thanks for the link! Have a great rest of the weekend 😊
LikeLiked by 1 person